![Hearo profile Image-2.png]](https://learn.hearo.net/hs-fs/hubfs/Hearo%20profile%20Image-2.png?width=50&height=50&name=Hearo%20profile%20Image-2.png)
1) Testing the mat
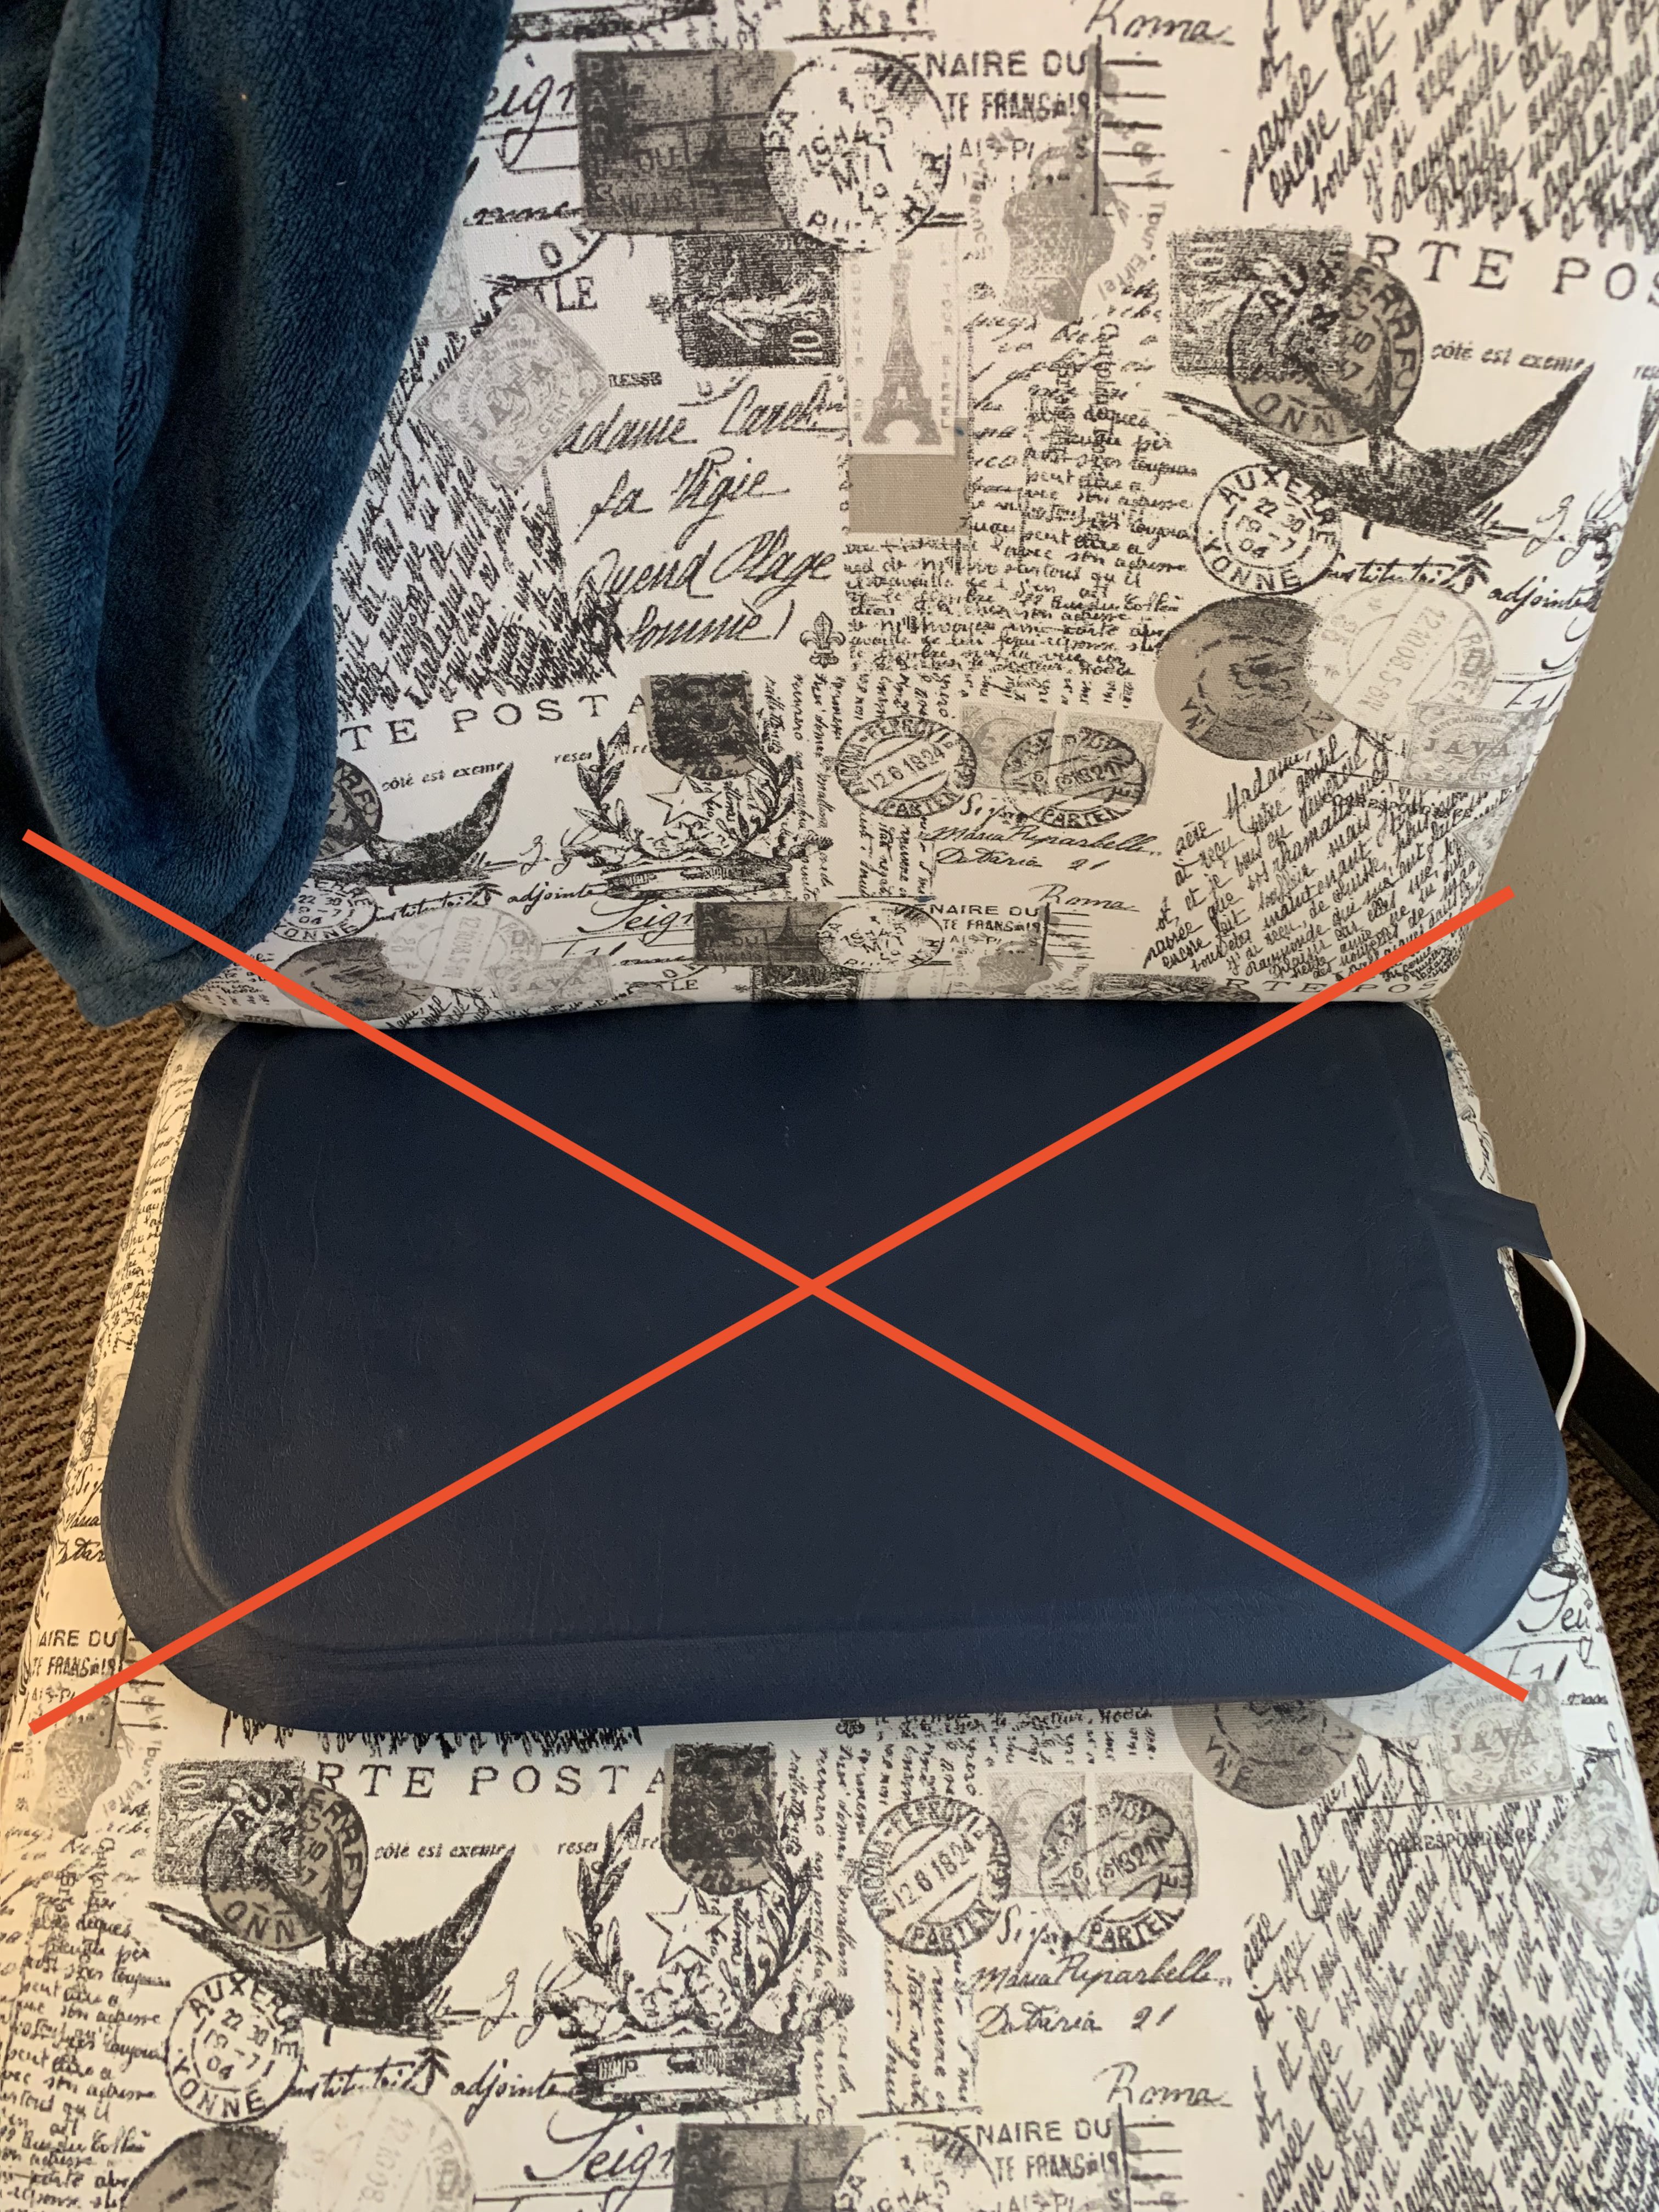
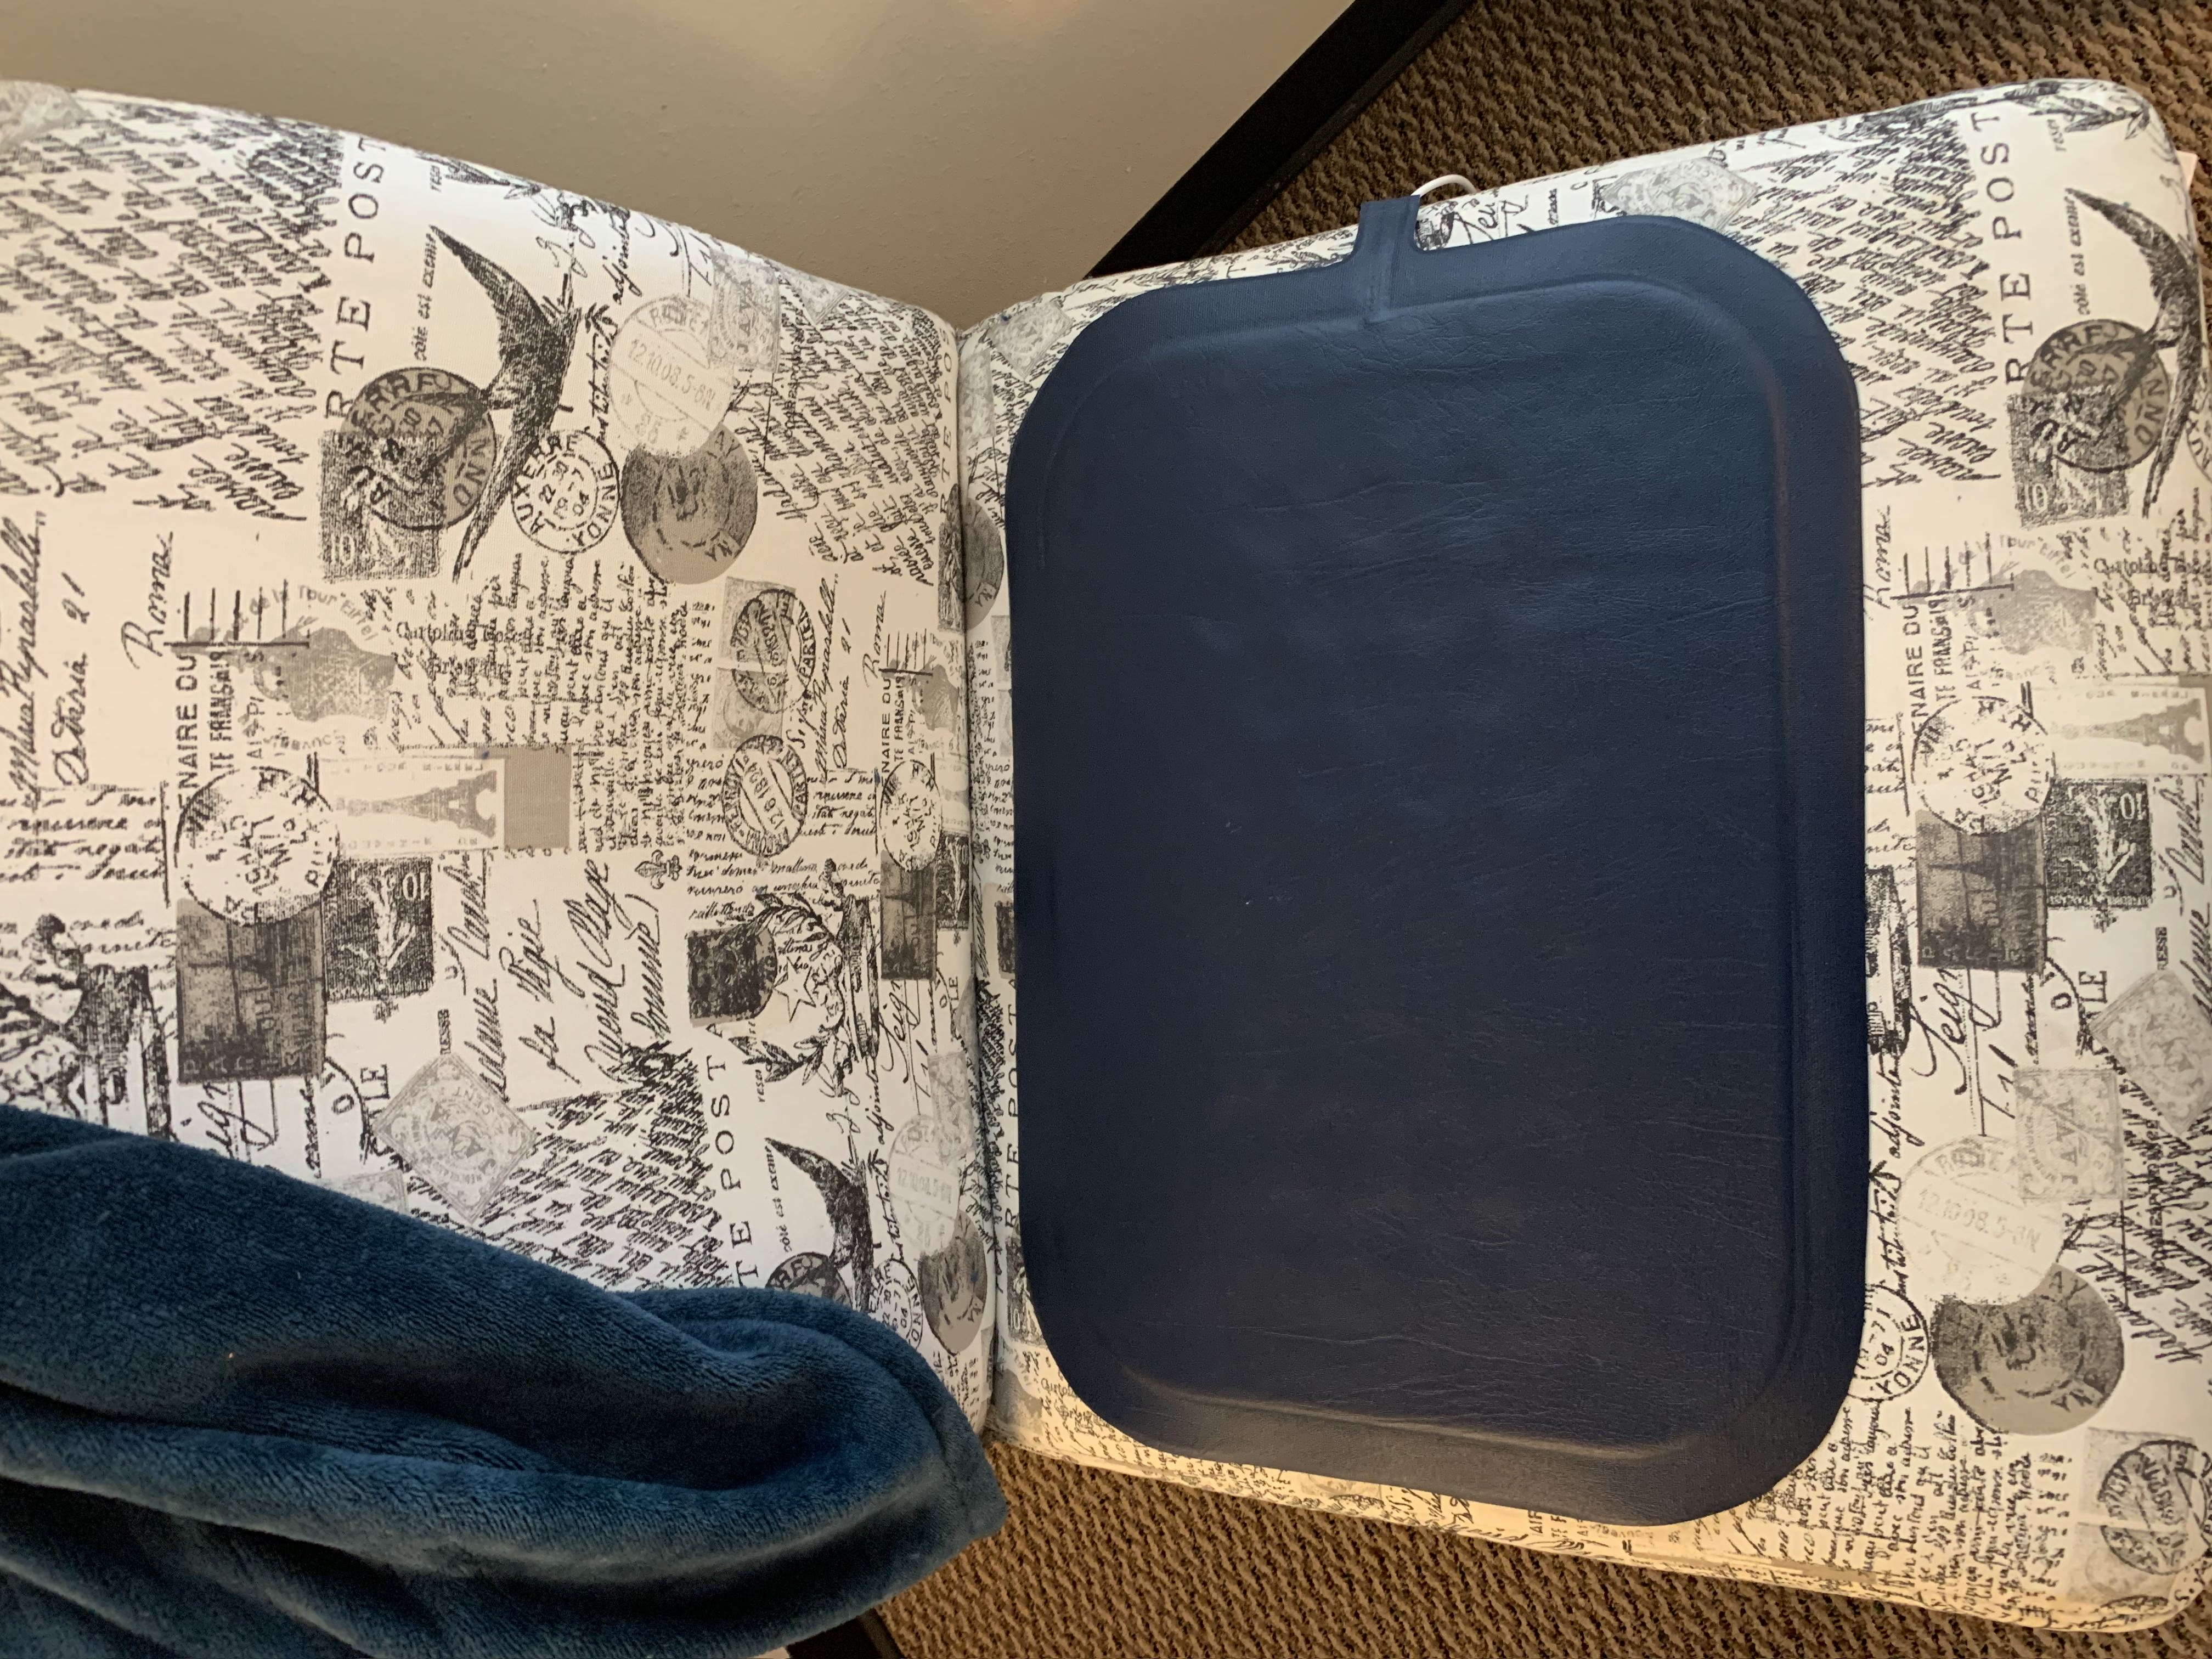
Your chair mat should look something like this:
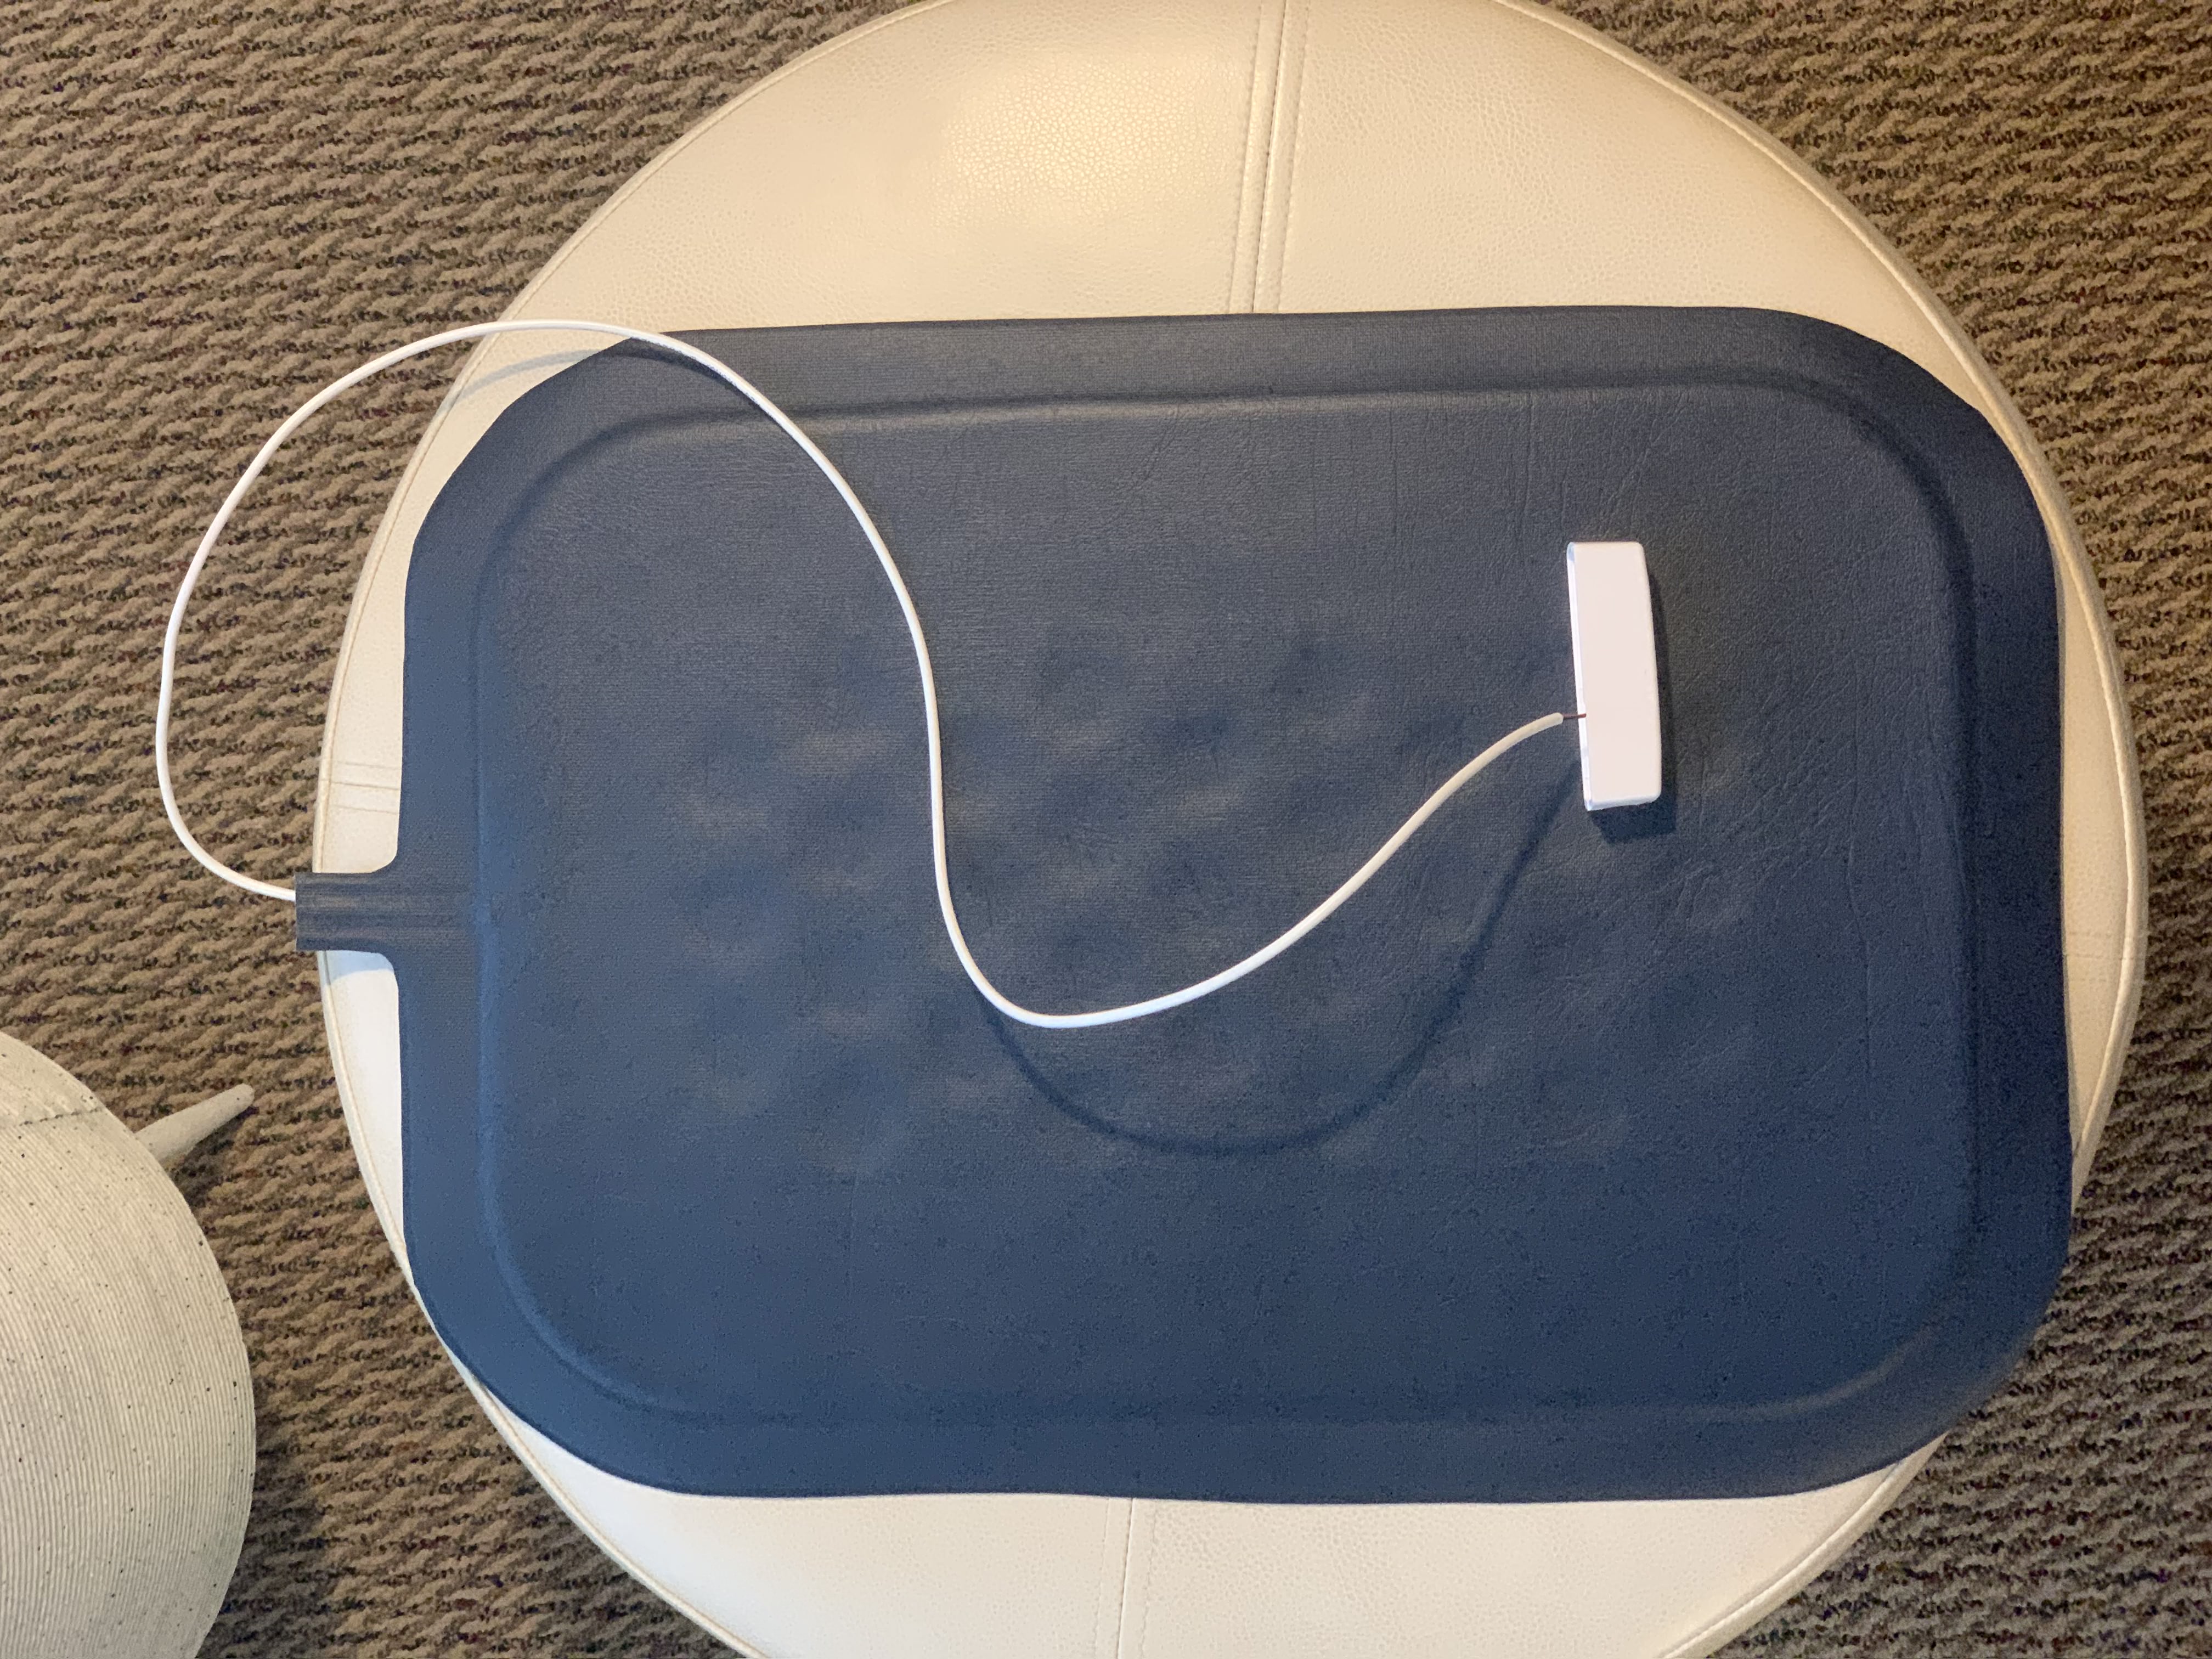
The mat is connected via a white wire to a binary/door sensor. This is what sends the signal generated by the mat to the Hearo system.
First, remove the mat from the chair for testing. Set it on the floor or another flat surface. Apply downward pressure on the mat, with a hand or knee for example. If your door sensor is functioning properly with the mat, you will see a green light flash once on the door sensor, near its top.
If the green light flashes when you apply pressure, as well as when relieving pressure on the mat, then the mat is detecting pressure appropriately and the next step is to ensure your Hearo Dashboard reported the chair mat activity.
If it failed to report the mat was occupied/unoccupied in the dashboard, please submit a support ticket to Hearo and we will be happy to further assist you from there.
If everything is functioning properly with this test, move on to positioning the chair mat.
2) Testing mat sensor:
Next, if the mat does NOT trigger the door sensor, you'll want to check that the door sensor is functioning properly itself.
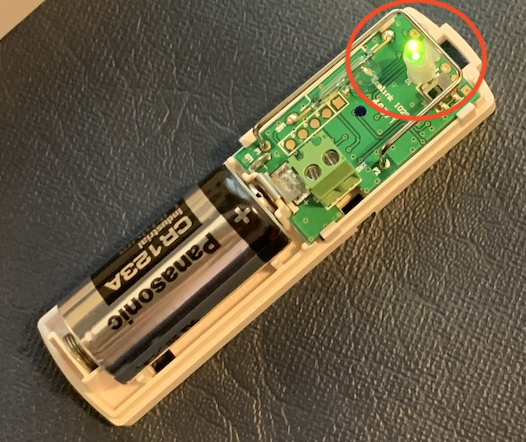
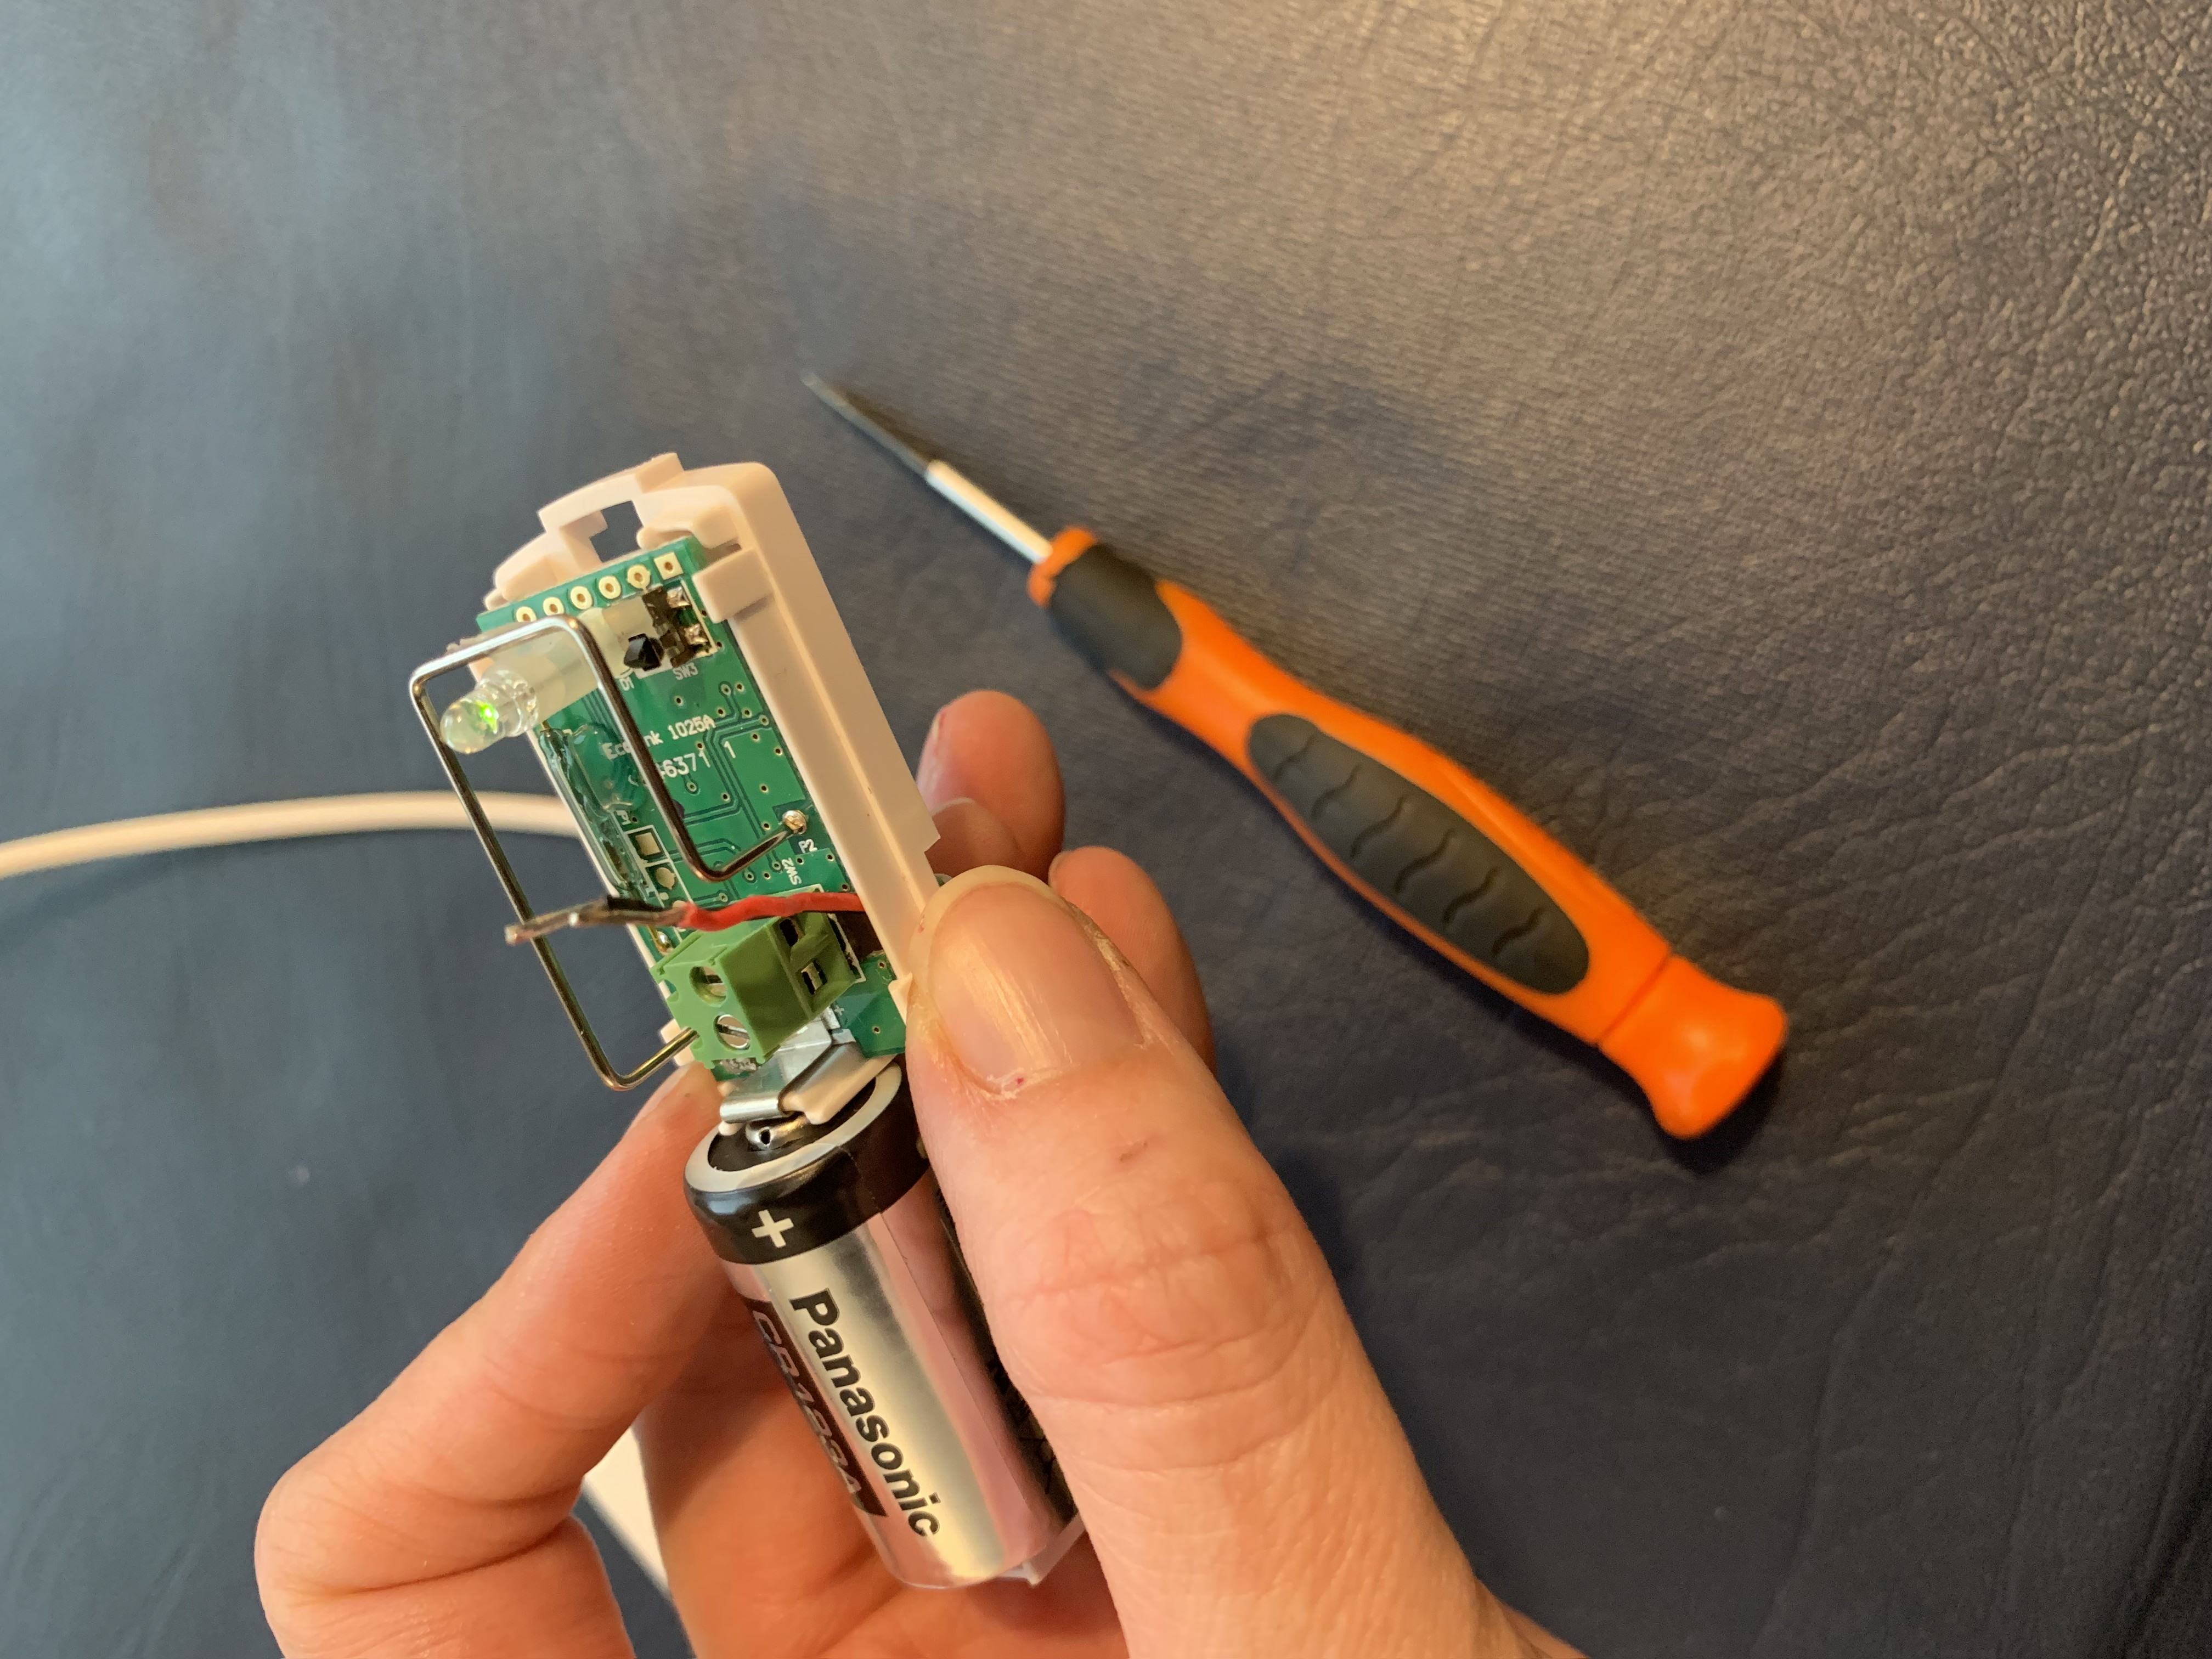
To do that, pull the cover off of the binary/door sensor:
And, confirm the green LED light is on when the cover is removed. This will remain lit, not merely a quick on/off flash like when triggered in the normal fashion.
If it's not lit, you may need to change the battery. Check out our video on changing the battery on our door sensors here.
If changing the battery doesn't result in the light turning on when the cover is off, contact Hearo Support for more help.
3) Troubleshooting connections
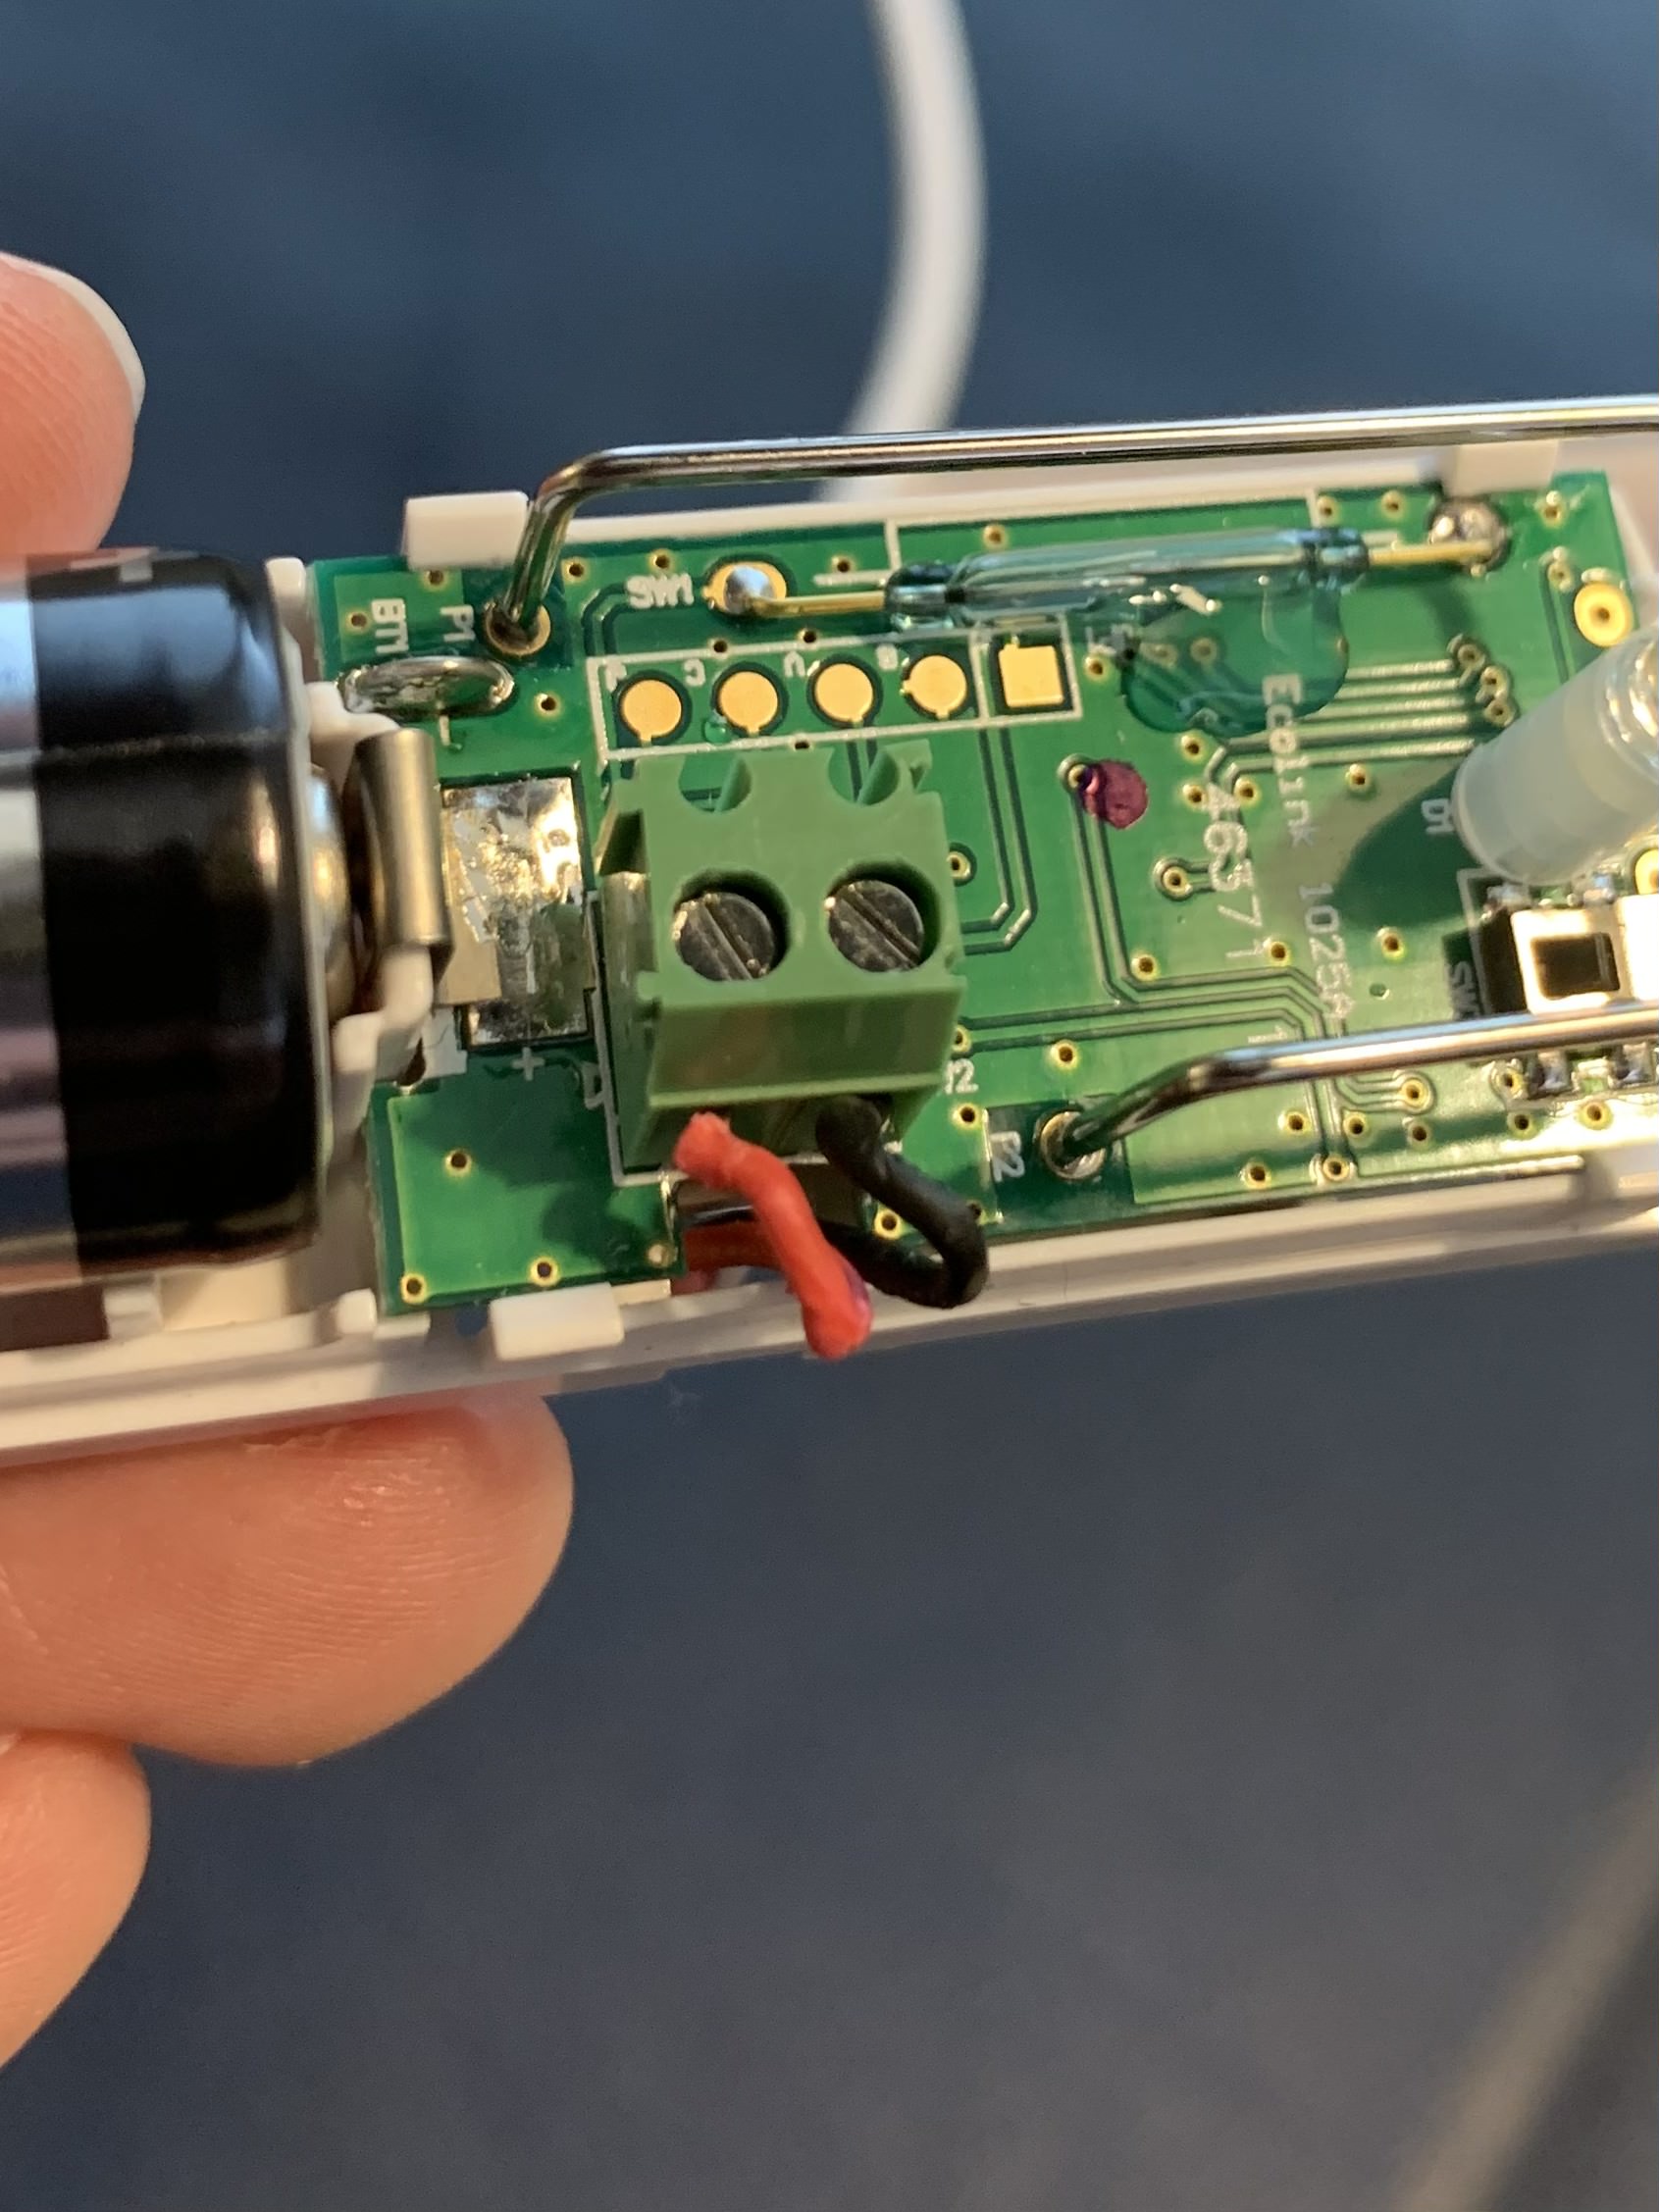
The mat is connected to the binary/door sensor by a long white wire that terminates with two smaller exposed wires at its end. These wires can sometimes become disconnected to the binary/door sensor and need to be reconnected.
To do this, you'll need a very small flathead screwdriver.

First, remove the cover from the binary/door sensor as shown in the image above. Next, you'll feed the red and black ends of the main white wire up through the sensor via this hole in the bottom: 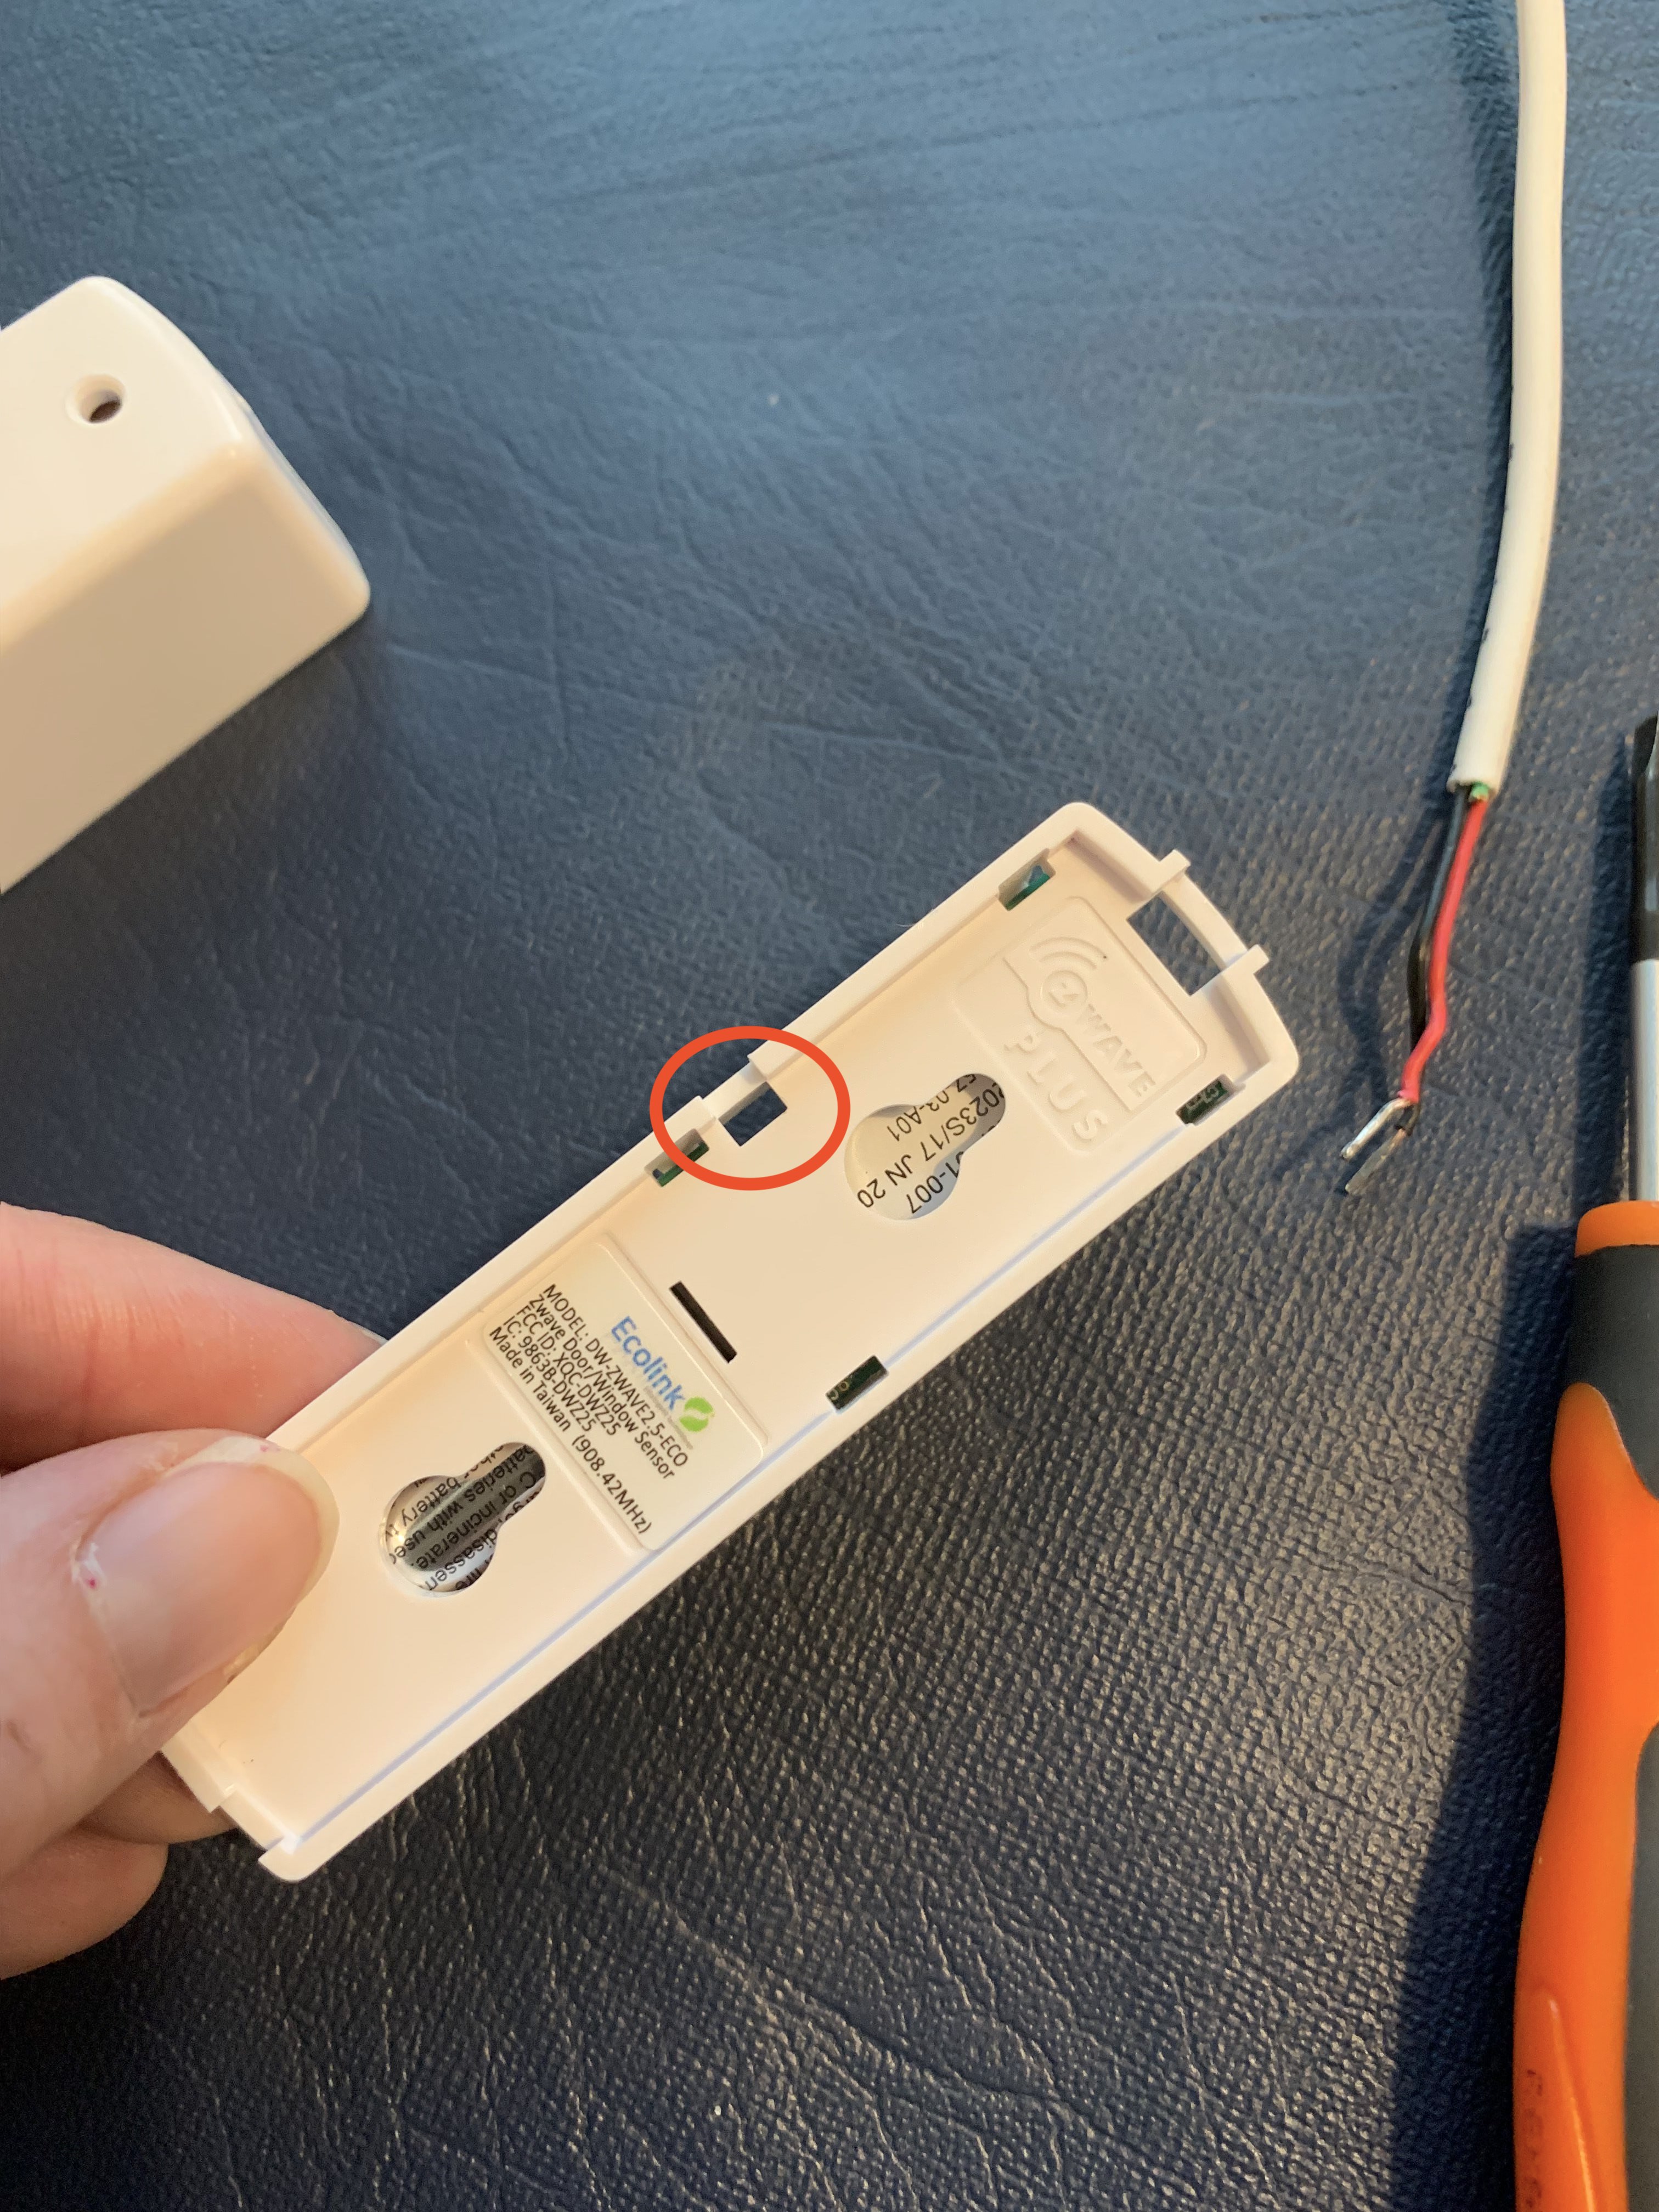
It should look like this from the top:
Next, loosen the tiny screws at the top of the terminal block (the green box with two tiny screws on the top).
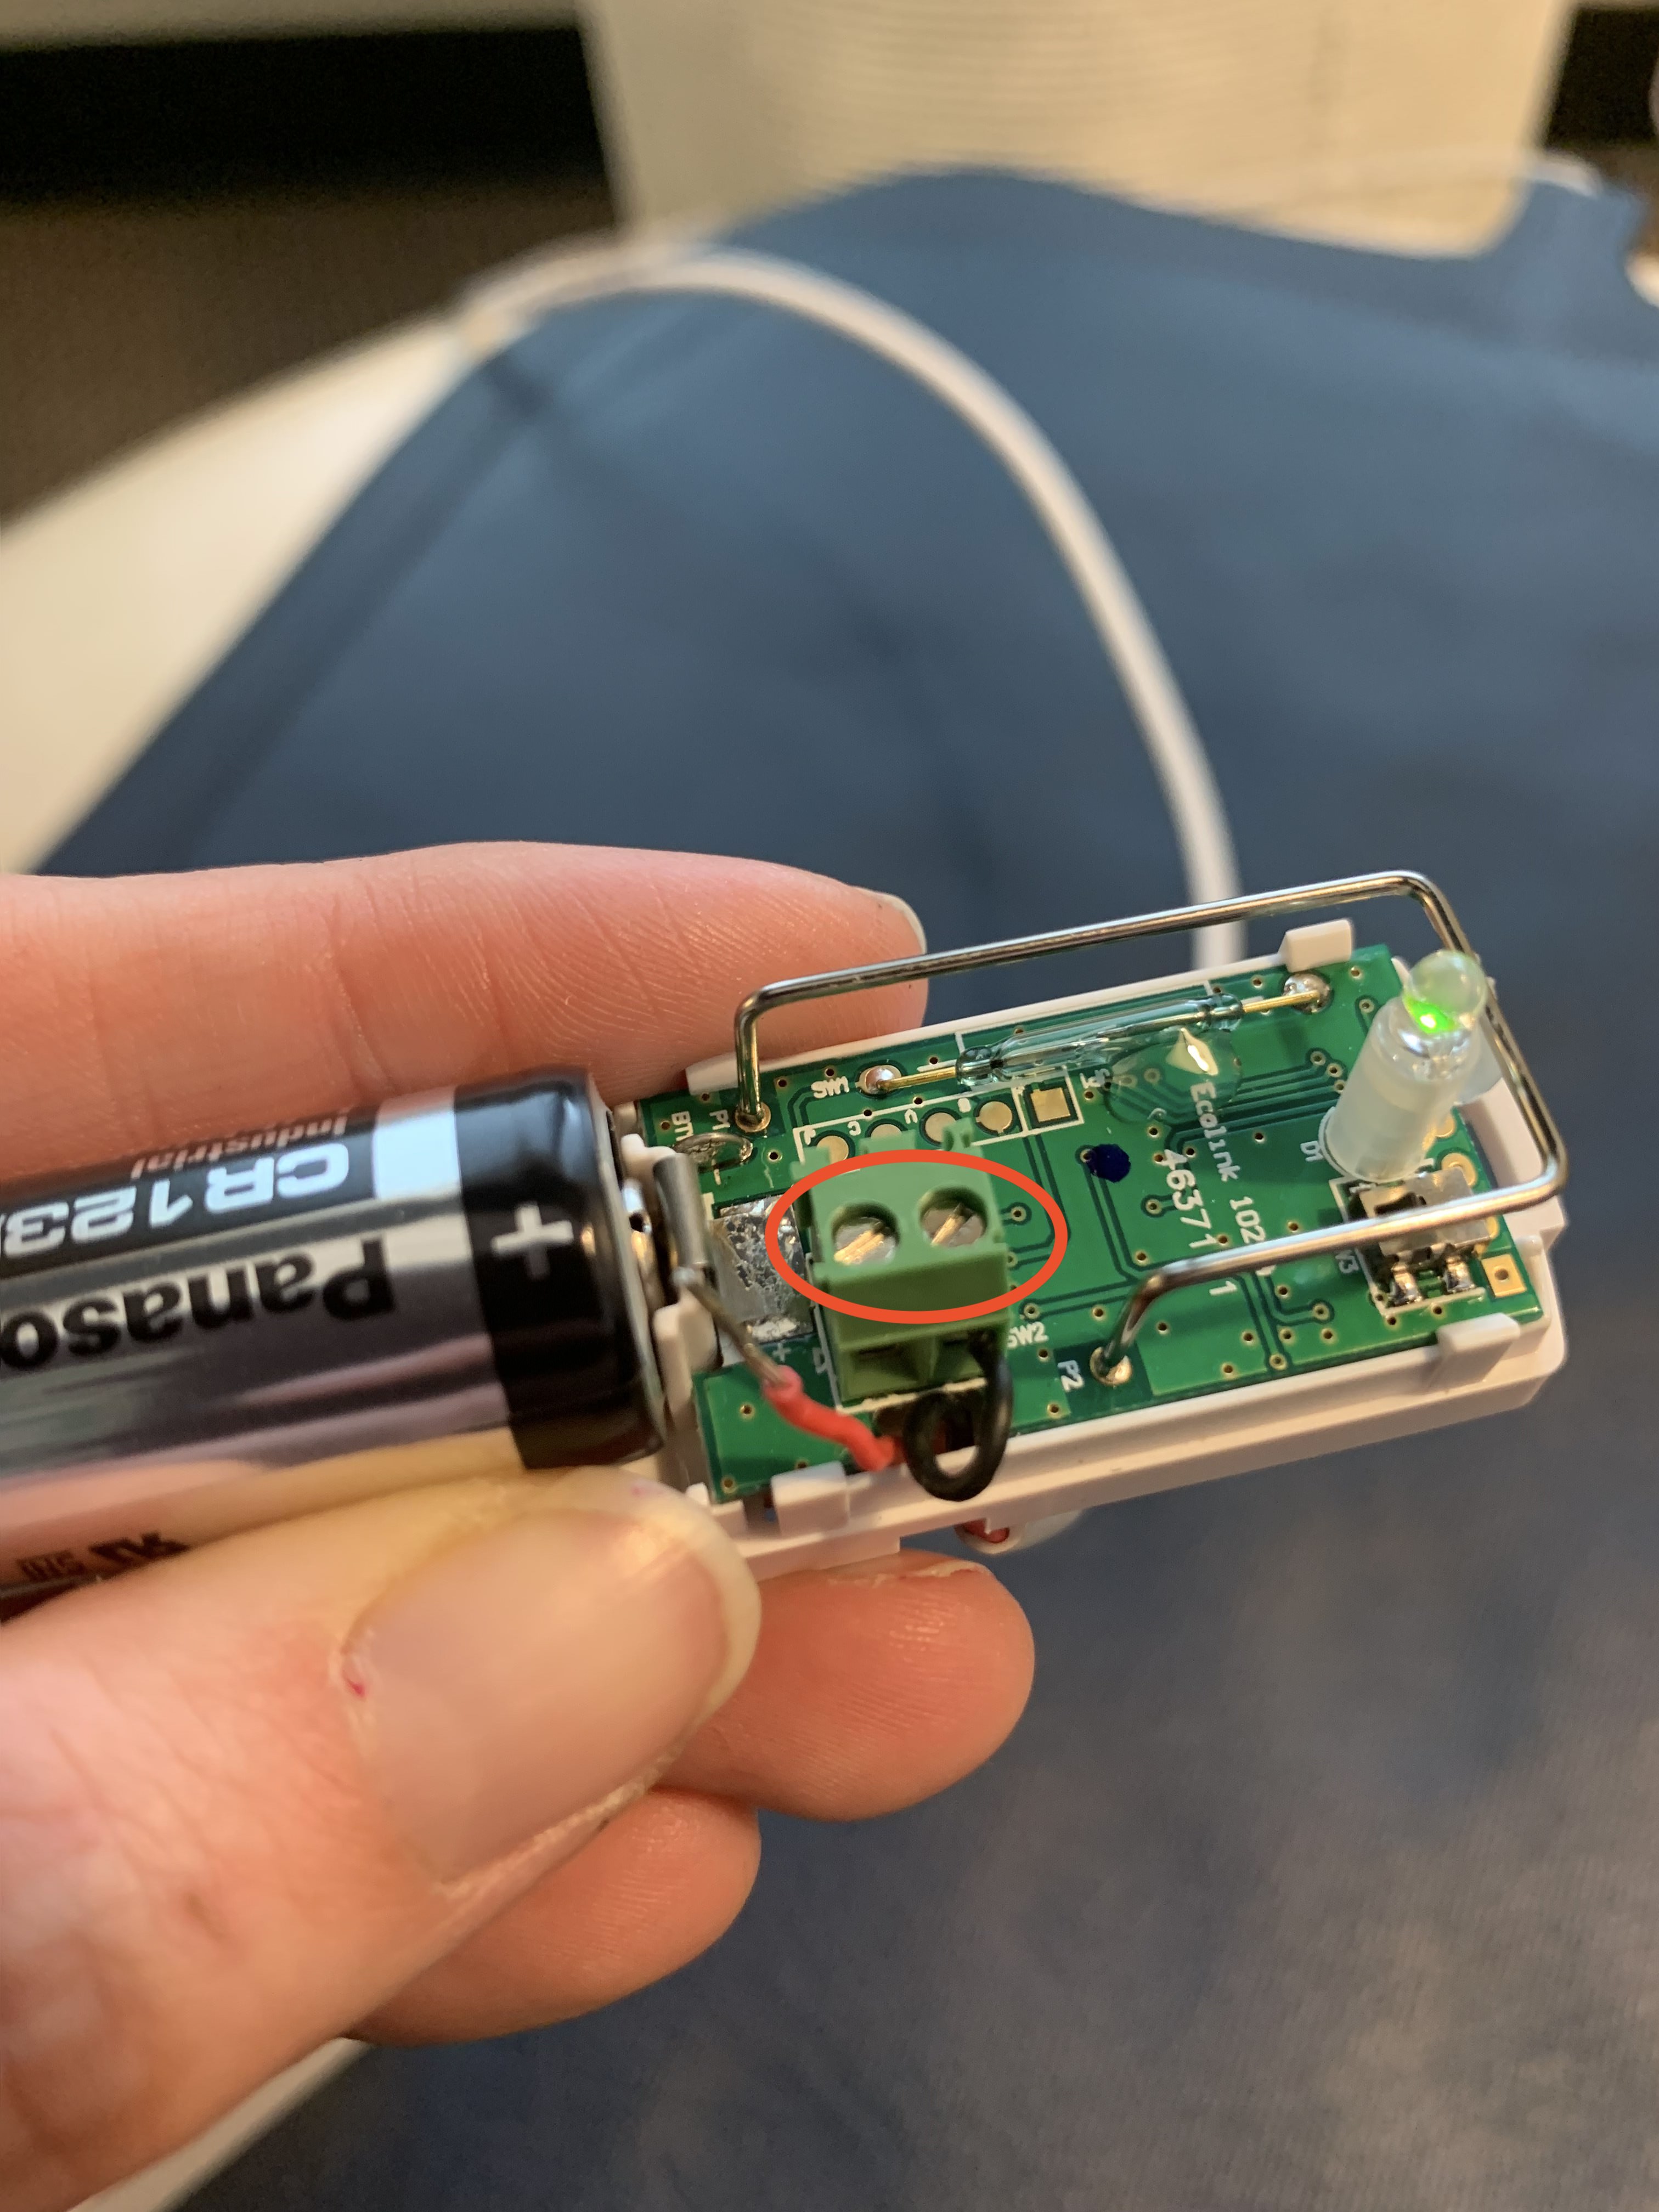
Finally, feed each wire into the terminal block holes in the front. When they're in, tighten the screws to hold the wires in place.
Next, you'll replace the cover of the sensor; you may have to push the wires in just a bit to get the cover to fit. Test the chair mat again by applying and removing pressure as indicated in the instructions above.
If you're still having issues with the mat reporting properly, submit a support ticket with Hearo and we can help you from there.
4) Positioning
If your chair mat is responding appropriately while testing, but not after it's been placed, it could have a problem with where or how it's been placed. Here are a couple things to note:
1 - If you're placing a chair mat on a recliner, it's likely that as the chair reclines and returns to the upright position, the chair mat becomes caught and tightly pressed in the crevice between the back and the seat cushion. This will trigger the mat to show as occupied, and it will not return to the unoccupied status because it is unable. These mats often need to be pulled out of the back crevice of the chair and returned to a more central position on the chair's seat.
2 - Confirm that the cable and binary/door sensor are not able to be pulled when the chair is in use or by other objects